In the last blog post, I spoke about how I discovered landscape architecture. In this one let’s talk about studying it at a UK university. I studied at the University of Edinburgh, in the Edinburgh School of Architecture and Landscape Architecture (ESALA) which is part of Edinburgh College of Art (ECA). I did the 4 years MA(Hons) course, I believe now the course is 5 years. You can visit the course page here.
Looking back I wish I had known a little bit more about the degree experience and practical things before I started. It could have helped me to be more prepared. Therefore, to help you I made a list of 10 things you should know, to hopefully give you an insight. So you can go in knowing what to expect.
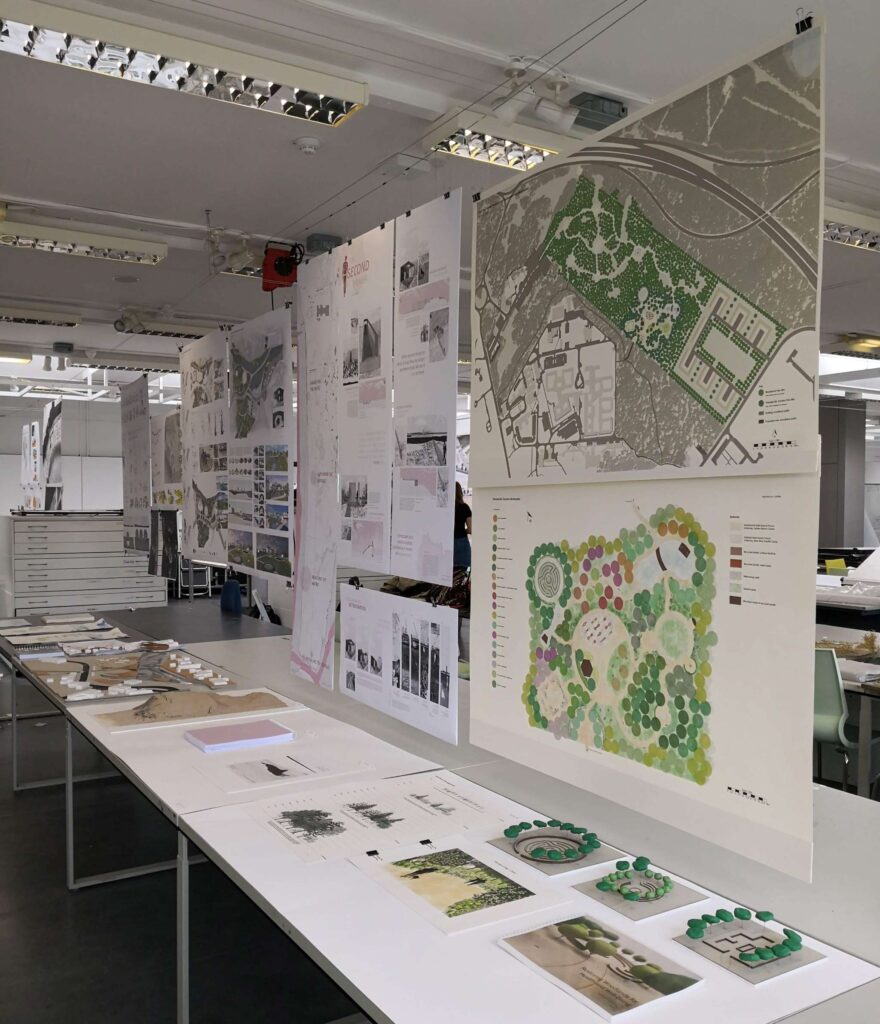
Feature image shows the studio presentation day in my final year. Everyone hung up their design panels and presented their work.
1. Be Bold
Don’t be afraid to be bold with your designs and ideas. Design at university is the best time to unleash your imagination without being restricted by briefs, rules, and regulations. Once you start working in practice, you will be bound by detailed client briefs or other factors that can be limiting. In addition, the process of designing is a lot shorter and projects move on a lot quicker. You won’t have a whole semester to come up with a concept design in real life. So make the most of the time you have to go all out with your creativity!

2. Get used to crits
If you don’t know what a crit is, you will sure be used to them by the end of your degree! They are a vital part of your landscape degree life. Crits are sessions where you present your design to your classmates and tutors. It can be a time to talk about your design progress or inspirations that resulted in a specific design outcome. Crits are essentially an update of your project throughout the semester, think of them as different checkpoints. After you present, the tutors give you feedback. Sometimes they will love it, other times not so much. You have to get used to that, I remember being told as a class we need to learn to build up a thick skin. So when we go to the real world we can take on the harshest criticism and not let it discourage us.
3. Don’t compare
This one is hard but don’t compare your work with others. Everyone is a different designer and is inspired by different things. Each designer has their passion and vision of the results. I struggled with this one myself a lot. I was always in awe of other people’s work and thought they were so much better as designers than I was. When I spoke to my classmate about how amazing their work was, and how I could never think like them. They in turn told me how they admire my thinking and that they can’t think like me. Over time I realised we think and design differently, and it’s what makes it interesting. There’s no fun in seeing 10 of the same design, that’s boring.
4. Site Visits
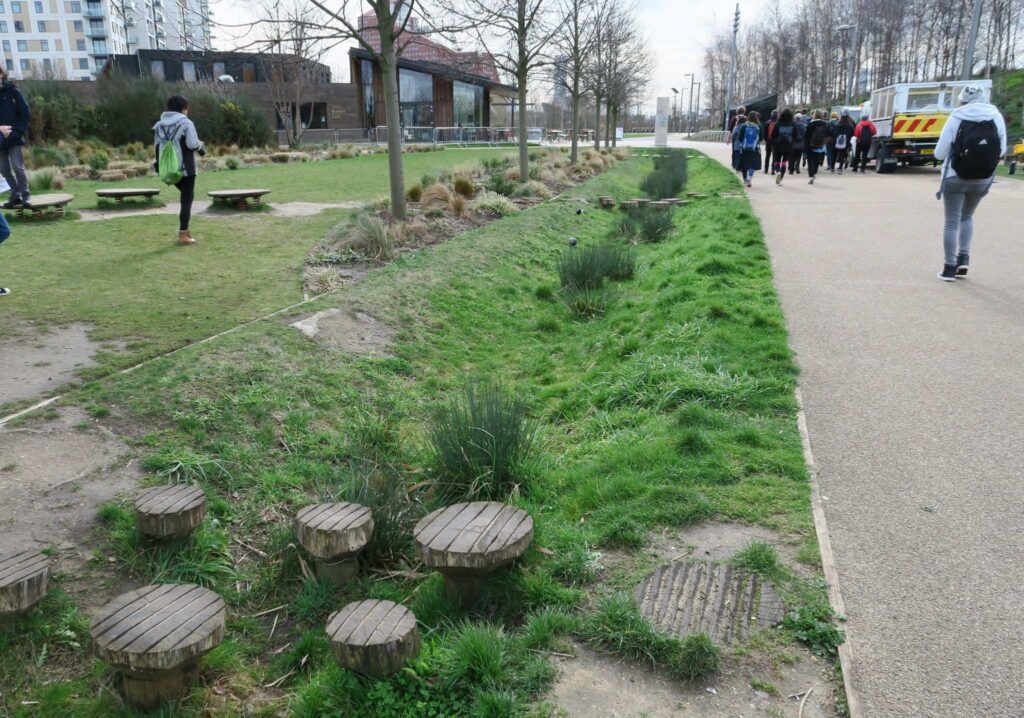
You will be doing site visits each semester, so be prepared for travel and accommodation costs. In my first year, I went on a 5 days long trip visiting various country estates across England. Throughout my 4 years, we did site visits for every course we took. Sometimes if the site is local you may want to go back there again. Other times you might need to stay overnight if it’s further away so you can explore and get all the information you need.
You will be taking a lot of pictures whilst on site, so you may want to think about a camera other than your phone. I had a small camera I used for travels and site visits, nothing fancy but better than a phone.

5. Printing
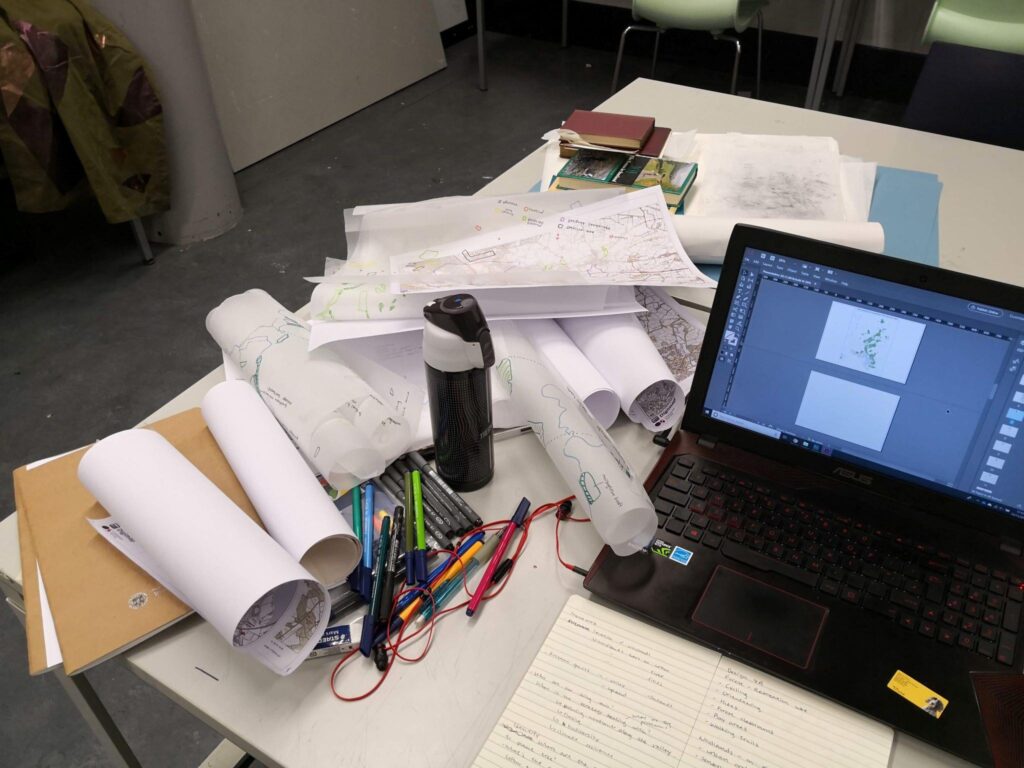
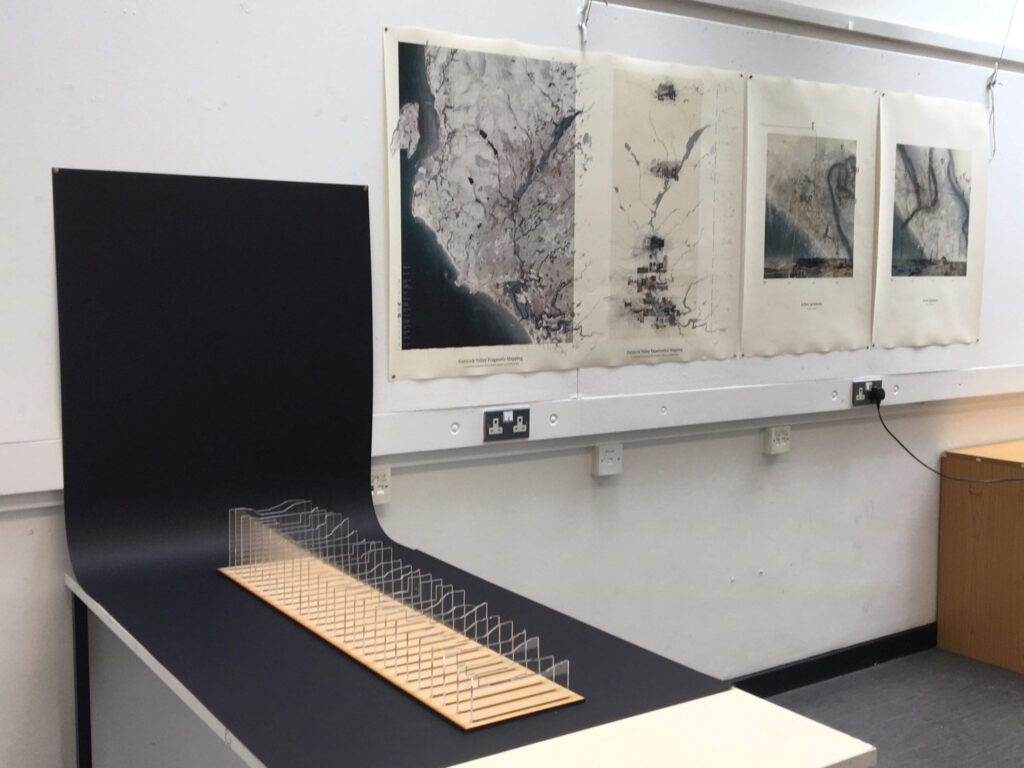
Over the next 3 or 4 years, the printers become your best friend. You can do all the amazing work on your laptop but if you can’t print it out and hang it up in time, then you have nothing to show for. You will learn to use something called a plotter which prints A2 size sheets and upwards. Those printers are expensive and there’s only a limited number of them. Plan ahead when you need to print for the final presentation and remember all the students that you share the university facilities with. Everyone else also has deadlines and needs to print so be prepared!
Know and choose your paper wisely! You might think I am crazy but paper quality makes a huge difference when design work is printed on it. I once tried to save money and printed on standard office white printer paper (80 – 90 gsm) instead of heavier cartridge paper (140 gsm and up), and it didn’t look good. In the end, last minute I decided to buy a heavier-weight paper and re-print it. It made a big difference visually in the overall look. Small details but a big contrast.
6. Materials
Oh boy did no one tell me about all the material cost! You need to buy everything from sketchbooks, A0 or A1 paper for panels (which cost per sheet), materials for model making, fineliners pens to which you want a range of lineweights. All the art suppliers you could think of you will probably need. You also want a telescopic art tube of some sort to carry your A0 and A1 panels rolled up. I hadn’t anticipated having to buy that much, so I had to be a bit stingy. Conveniently the college had an art shop and I spent a lot of money there over the years!
7. Digital Skills
I don’t know about all universities but when I was studying the use of design programmes was not formally taught. Most of the people I knew were self-taught, I was lucky to have come from a school where they did teach us how to use Adobe Suite and other computed aided-design programmes.
In my first year there was a construction course, where the class was taught the basics about titleblocks, lineweights, and hatches. It also briefly ran over the interface of AutoCAD. However, the actual how to use AutoCAD itself I taught myself and learned from classmates and work in my placement semester. Learning from your classmates is an excellent way of picking up new digital skills as everyone has their own tricks and shortcuts. Additionally, my digital skills advanced very quickly whilst I was on placement, so rest assured you will pick up your digital skills when working in practice.
8. Group Working
You will very likely be doing group work in design courses. For me, I had to submit as a group and the work was then graded as a group. If you have very hard-working people in your group then is not much of a problem. However, if you have people that don’t put in much effort, or don’t show up to group work then make sure the tutor knows about it! You don’t want someone to not pull their weight in group work but get credit for it. So be sure to either give them a good talking to or tell your tutors, so they grade you fairly.

9. Time Out
When I was at university, I felt guilty whenever I was not working on my design projects. I was constantly working or more like staring at my work but getting stuck. I didn’t take breaks or step away from my desks often enough. So I would strongly advise you to take breaks, ideas and inspiration come to you usually when you are away from your desk. Sometimes you can get stuck looking at your design work, and you don’t see where you can go with it. That’s when you hit a wall, and you need to take some time away. Plus it’s good for your mental health!

10. Make Friends
Lastly, the landscape world is very small, everyone knows everyone. So you don’t want to be making enemies or bad-mouthing anyone. In the future, you might see them again or end up working with them. Alternatively, they might even be a potential employer! You never know. Respect the people you meet in the industry and your peers. Don’t burn any bridges, as you will most likely cross paths with them again.
There you have it, 10 things to know about studying landscape architecture at a UK university. I hope it will be useful for you. Some of them can also apply to when you are working in practice.
I hope you enjoyed this post. If you have any questions or suggestions, click on the contact page and drop me a message. I would love to hear from you.
If you want to be the first to know about a new post, follow me @landsnplants on Instagram.
