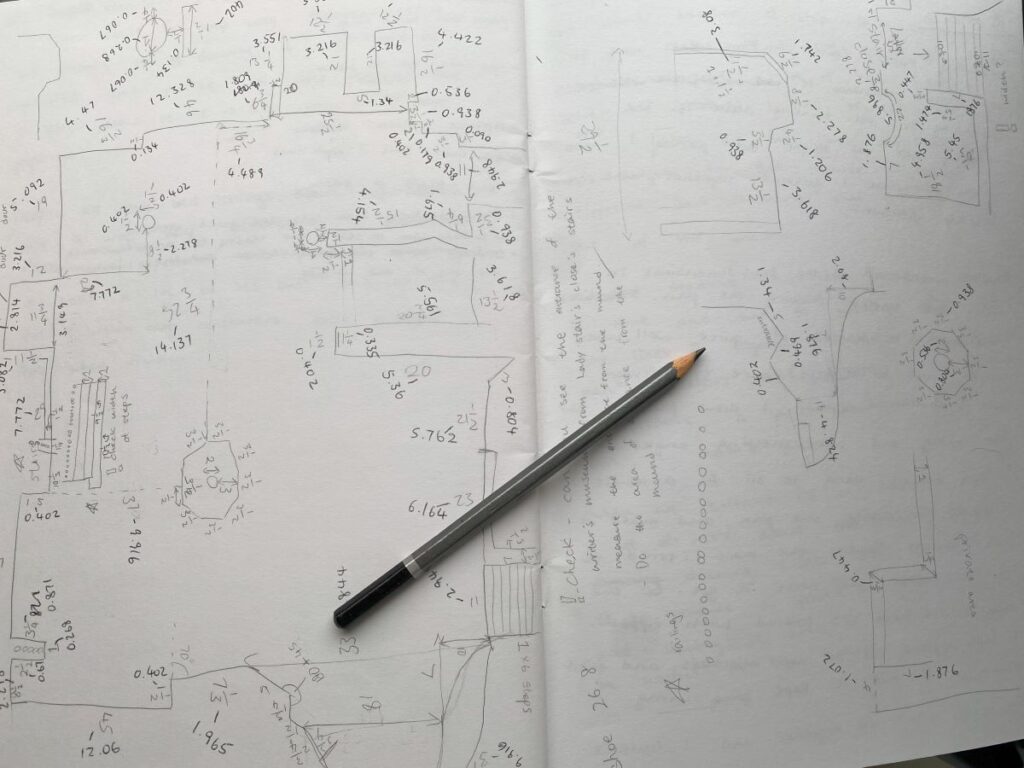
In this blog, I am sharing with you stationery items that you as a landscape architect student will definitely need. I will also be sharing tips on when to use what and why. For some of you, this might not be new, but for others, it might be new information. This could be useful for anyone who has an interest in studying landscape architecture it will give you insight. Being a landscape architect is not only about your design, but also the process of how you got to your design and how you present them on paper. These are some of the tools that would help you.
This post is not sponsored by any brands. Any recommendations I make are brands/ products that I have used over the years and like the quality. For those who might not be from the UK, this might be useful to know too.
1. Fineliners
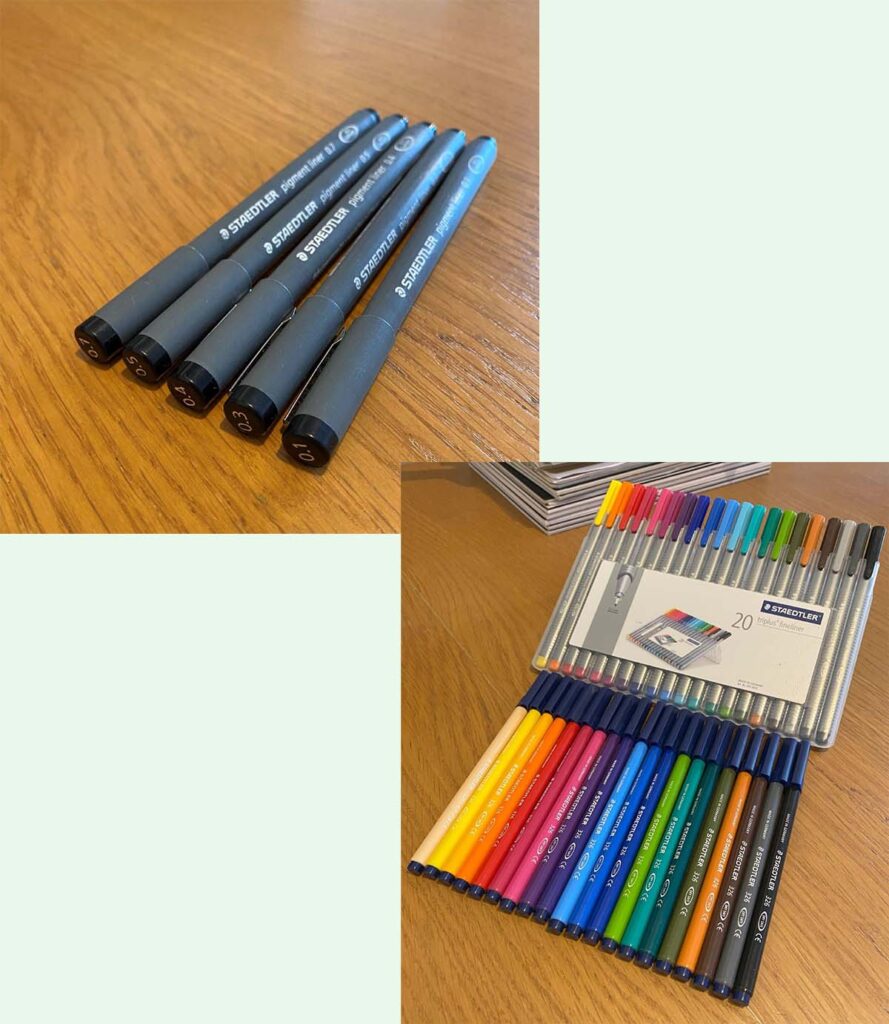
Fineliners are pens that are used for graphics drawings or illustrations. I have mentioned these before in a past blog post. They usually come in black ink, the tip of the pen is designed to be thin and all lines drawn with it remain the same width (lineweight). Therefore they are great for technical and precise drawings. In my opinion, they are very important when doing most hand drawings. For example, you can sketch in pencil first and I would always recommend going over your sketches or drawing in fineliner afterwards. Though you don’t always have to start with a pencil first, sometimes you might feel confident and want to draw straight from a fineliner!
So why fineliners? First of all, it gives a professional finish to your drawing. Secondly, they don’t bleed or smudge like a ball pen would. For example, when you use a ruler to draw, you move the ruler away it smudges the line you drew. This can be very annoying when trying to keep a clean drawing, but fineliners won’t do that.
Thirdly the selection of different lineweights available, by lineweights I mean the thickness of the pen tips. Each lineweight has a different application, you want a range from as small as 0.05mm to 0.8mm. Why are different lineweights important? This is fundamental to drawings, varying weights add depth to your drawing. It can help communicate different elements of your drawing to the viewer. For example, in a perspective drawing to communicate elements in the foreground, the lineweights would be thicker. For elements in the background, the lineweight would be lighter. Thus creating a perspective.
Fineliners are also available in different colours, besides black I also have a selection of colours fineliners and felt tips. You can never have too many colour pens as a landscape architect! You can use different colour to represent different elements when you are brainstorming, it’s great fun!
For fineliners I particularly like Staedtler, see link to their products here. Most of the pens I used are from this brand. I have been using them for many years and would recommend them if you are unsure what to buy. Other brands that I like and have used in the past are Pilot and Muji, they are both Japanese brands. If you can get your hands on them I would recommend them, I love their stationery.
2. Tracing Paper
As a student, I pretty much rolled in tracing paper! Tracing paper is good for showing your design and it’s thought process. Sometimes at the beginning of a project, you might find yourself presenting traces at your crits to help explain how you came to a decision. They show your thinking, help you arrange information which will facilitate spotting connections and initiate the start of a design solution. Everyone draws ideas on trace, it’s useful for layering options on top of each other. You can use it when doing site analysis and draw out specific landscape elements on each trace and layer on top to look for patterns or things that may influence your design. Tutors love drawing on traces during tutorial sessions. So my advice is to get a big roll of it so you can tear out however much you want when it’s time to doodle.
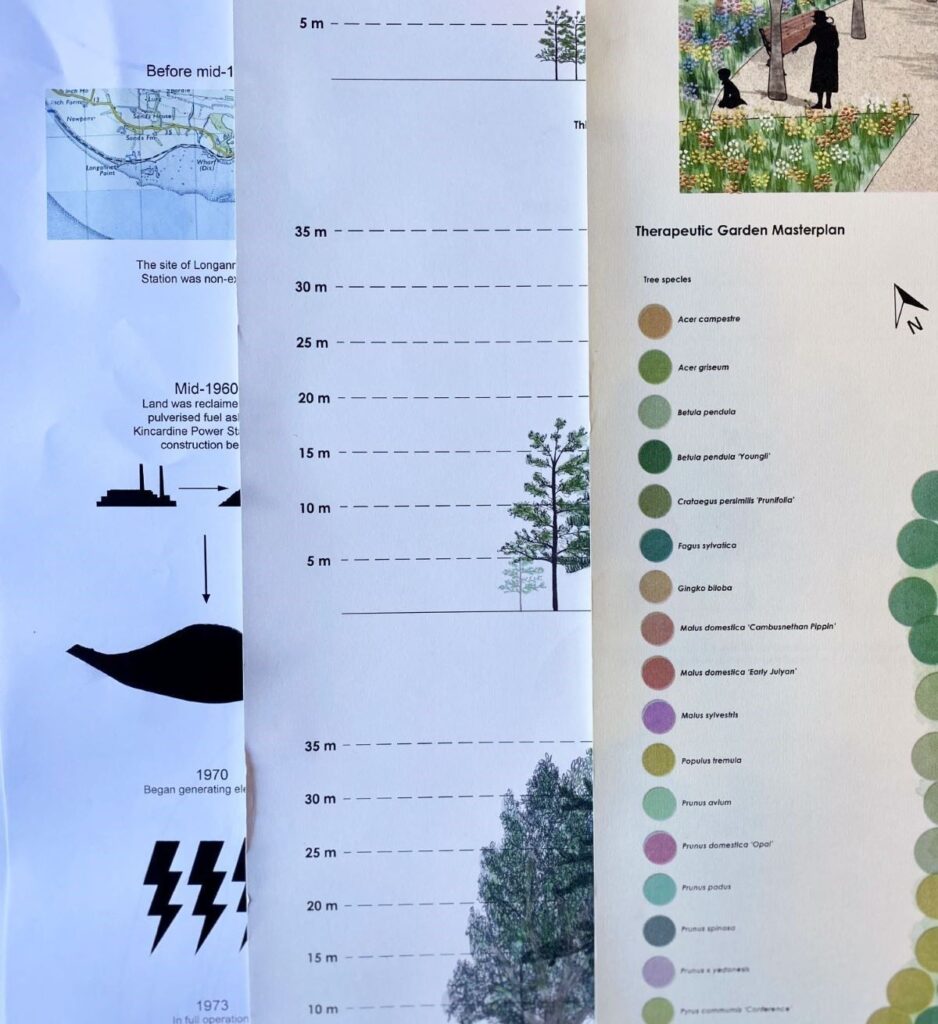
I also recommend getting tracing pads, they are really good for the less sketchy doodles. For example, if you want to represent your ideas or a specific design element on trace over a base layer map or base plan, it’s a great way to distinguish the 2 but also be able to see them together. You can also print on trace to show a landscape design progression over time, for example, the expansion of woodlands over the years. You can do a lot with tracing paper.
3. Scale Ruler
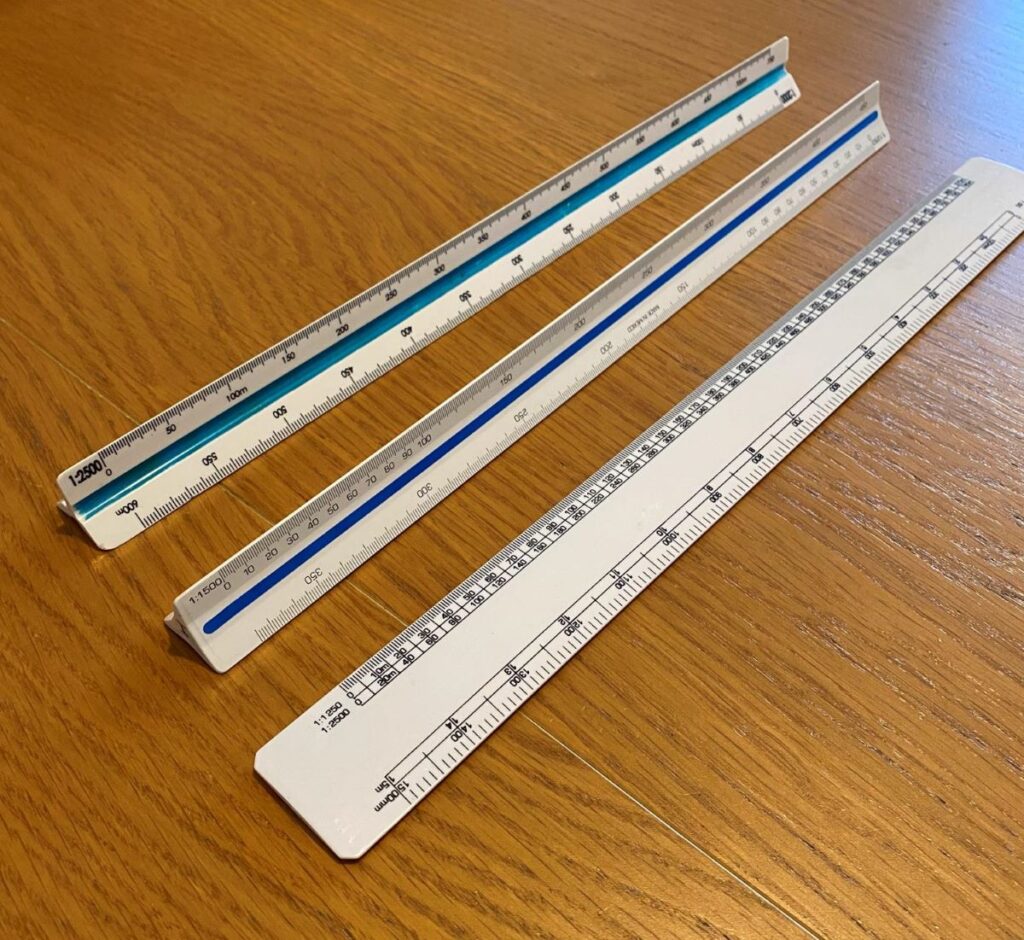
This is not a regular ruler but one with measurements of drawing in different scales, for example, 1:20 or 1:500. It makes it much easier for you when you are hand drawing in scale, the ruler tells you the dimensions of what you are drawing on paper are in real life. For example, when drawing in 1:200 scale, 5cm on paper would be 1m in real life, but instead of having to keep calculating, the ruler tells you straight away. So don’t need to keep doing maths and worry you might make a silly miscalculation!
You can get scale rulers in most stationery shops like Rymans or Hobbycraft in the UK, or your own university art shop if there is one.
4. Sketchbook
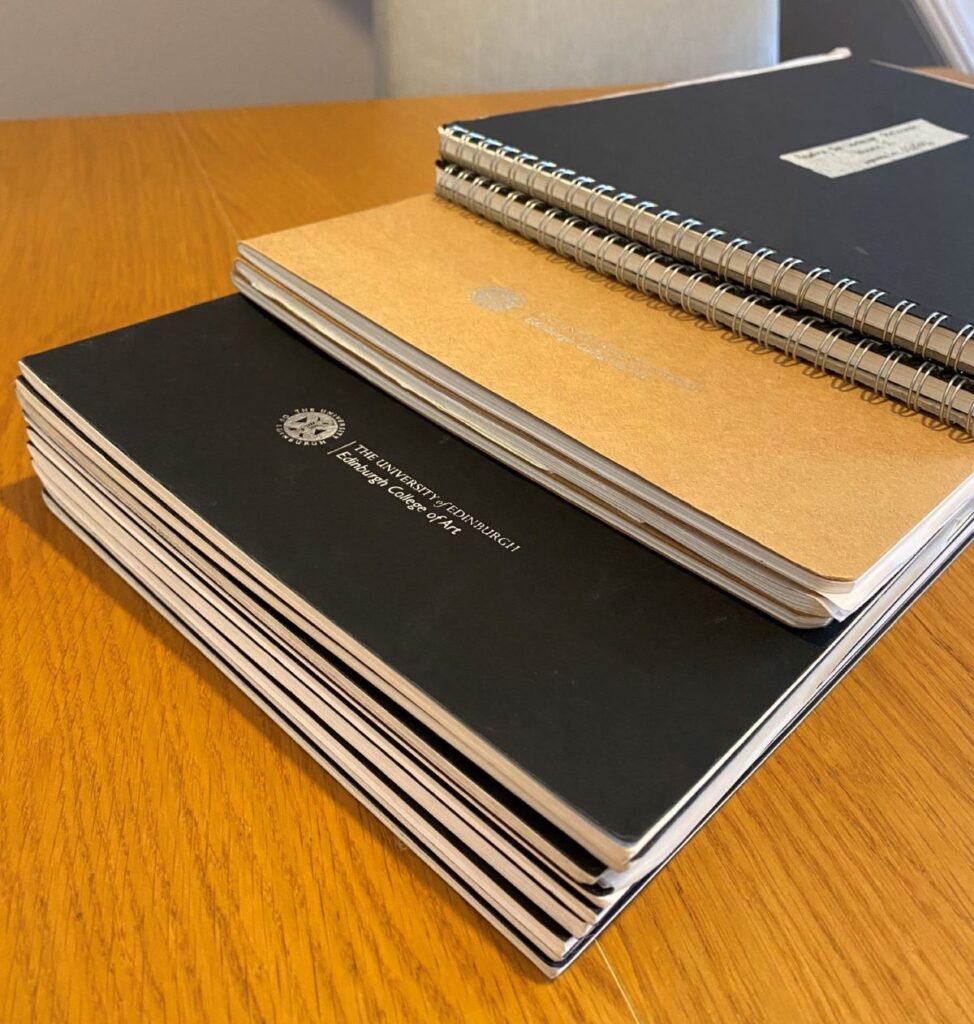
I love sketchbooks and you can never beat a good quality sketchbook. I went through a lot of sketchbooks during my time at uni and now I have a big stack at home!
For most of my on-site sketching, I carry an A4-size sketchbook. Sometimes smaller sizes are good for the pocket and easier to take out whenever you are out on site and want to write/ draw something down. All my sketchbooks I have used are from Seawhite of Brighton, they have all sorts of styles and binding options to choose from. I mainly used the staple-bound and wire-bound ones. I prefer them as you can open the sketchbook fully, or fold them up whilst sketching on site which makes it easier to draw in comparison to one that is casebound. Staple and wire bound are also cheaper. Also back then my own opinion was some of the sketches I did were so rough it wasn’t worth drawing into a nicely bound sketchbook! But I do like a casebound one for personal use.
Seawhite of Brighton is a UK brand, made in the UK and widely used in the education section. They have great quality supplies, see link here for their selection of sketchbooks. Another personal favourite is The Pink Pig, made in Huddersfield in the UK.
5. Good quality paper
With good quality paper I mean the paper you draw on as well as the paper you print on. Trust me, it makes a huge difference to your work. Paper is measured in grams per square metre (gsm), the higher the value the heavier the paper. Higher value also means thicker and higher quality. Your standard printer paper is usually white and relatively thin but still sturdy and is usually ~80gsm. It’s good to use for your everyday printing, or if you are presenting a design panel in an interim crit. There is no need to spend too much money printing on good paper when you know the design will change after the crit.
One up from your standard office paper is cartridge paper, usually anything from 100gsm, though there’s no exact weight for classification. You can usually tell if you are holding a piece of cartridge paper a) it feels thicker and sturdier, b) it has a slight off-white colour more creamy. I recommend these for sketching, technical drawing, and printing.
There’s a big range to choose from, usually for drawings I use 130/140gsm paper. For booklet printing, I also use 140gsm paper. See Seawhite art pads here. At my university, we had a printing place called Reprographics where you can take your digital designs, give them the paper you brought on and they will do the job for you and even bind it if you want to. I have also put my own paper in the printer before printing – not sure if that is a good idea, but when you are working last minute to meet a deadline and reprographics is super busy this was my last resort! You do risk some errors or graphics getting cut off on the edges. For me, I try to get the professional to do it if I can get my work done in time.
For printing A1 or A0 panels for a final design presentation I would choose paper between 170-220gsm. When you go buy the paper have a feel of the thickness, texture, sturdiness, and the colour before buying. The off-white cream colour of cartridge paper will sometimes mute the colours on your panel, I personally really like that. You can see in the image below the colour variation.
At the art shop at my studio, they sold A1 and A0 cartridge paper by sheet. When you print your panel you can load your own paper to the printer or use the standard white office paper roll in the machine. Or to avoid the hassle you can take it to a professional printer shop and get them to print for you.
For higher weighted paper that is 220gsm – 250gsm I would use it if I want to do paintings or maybe use thicker ink pens that have the potential to bleed through. I will need a heavier paper that could take to the heavier ink. You can go higher gsm for paper for specific applications or for special paints, i.e. Watercolours or poster paint.
Most of the paper I used came from Seawhite of Brighton you can see their website here. They don’t sell to individuals online but they have a list of stockists across the country so you can find your nearest one. You might also find that your institution works with them and sell them in your university art shop if there is one.
I hope this post was useful and if you have any questions feel free to reach out, click on the contact page and drop me a message. I would love to hear from you.
If you want to be the first to know about a new post, follow me @landsnplants on Instagram.
